
Quick Tip 4: Why we set our programme to Auto Schedule
One of the most common mistakes we see with programmes is that they are manually scheduled.
This can trigger ‘false criticals’ in your programme when you review your critical path, creating an inaccurate critical path for your project. It also stops automatic updates from naturally flowing through your programme as you apply percentages complete. In the Foundation Course, we go through this in more detail.
Task Tab
For this quick tip, I’m going to draw your attention to two buttons on your Task tab.
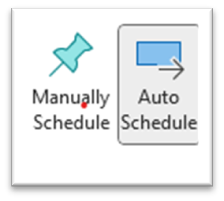
By selecting a task, these 2 buttons will let you know if that task is manually or automatically scheduled. As (theoretically) this is the start of your project, you want to highlight your tasks and set them to Auto Schedule.
Footer Bar
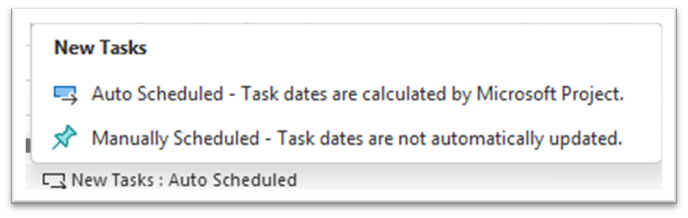
At the bottom of your project screen you have this box which will set the mode for all new tasks you add to your project. If you are on an older version of project, it may not be there.

And if you hover over it, this menu pops up. Click Auto Scheduled.
That's it. It's quick and easy. And you will find it smooth sailing as you link your tasks.