

Introduction Rule 1 - Logic The DCMA states that no more than 5% of incomplete tasks should be missing a predecessor and/or successor link. The Logic test looks at the […]
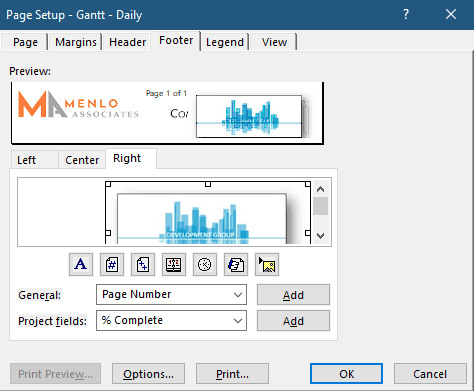
Setting up and inserting a Logo into the Print of a Programme is easy. When you are in Print Preview, go into the Page Setup dialogue, and choose either the Header or Footer Tab
The Logo can be positioned in one or more of 6 positions on the printout of your programme. These are Header Left, Centre & Right and then correspondingly, Left, Centre & Right in the Footer.
The question though is how to size the Logo to suit your need, as they don’t always come in exactly the right size for your purposes.
So, let’s run through an example.
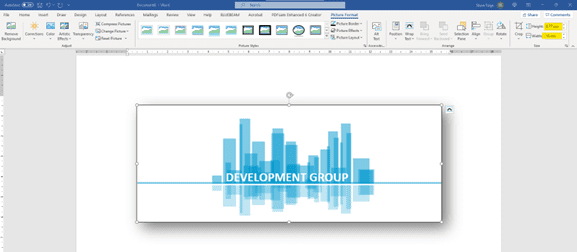
Below is a screenshot of the Logo I want to insert into the programme, pasted into word. I’ve put the border and shadow on it to make it easy to see the size and extent of the graphic. What you can see in relation to the width of the A4 page is actually pretty close to actual size of the graphic. Sometimes they may be much larger. The Size is highlighted in yellow at top right of the screen.
When you insert a graphic into the header or footer of the programme, either by clicking the insert image button on the page set up dialogue, and then navigating to the image file. Use either a .png or .jpg file.

Or by just copying and pasting into the section you want it to appear in. It will insert at the image's full size.
Ideally you want the Logo to be about 25mm (1 inch) maximum. You can either reduce the size of the Logo in Word and then copy and paste directly at the smaller size, or you can adjust the Logo in Project to the size you want. Either way you are going to want to keep a copy of the correct sized Logo for future use
I’m going to demonstrate using an over-sized image that we reduce to fit our required size and then save for re-use in other programmes.
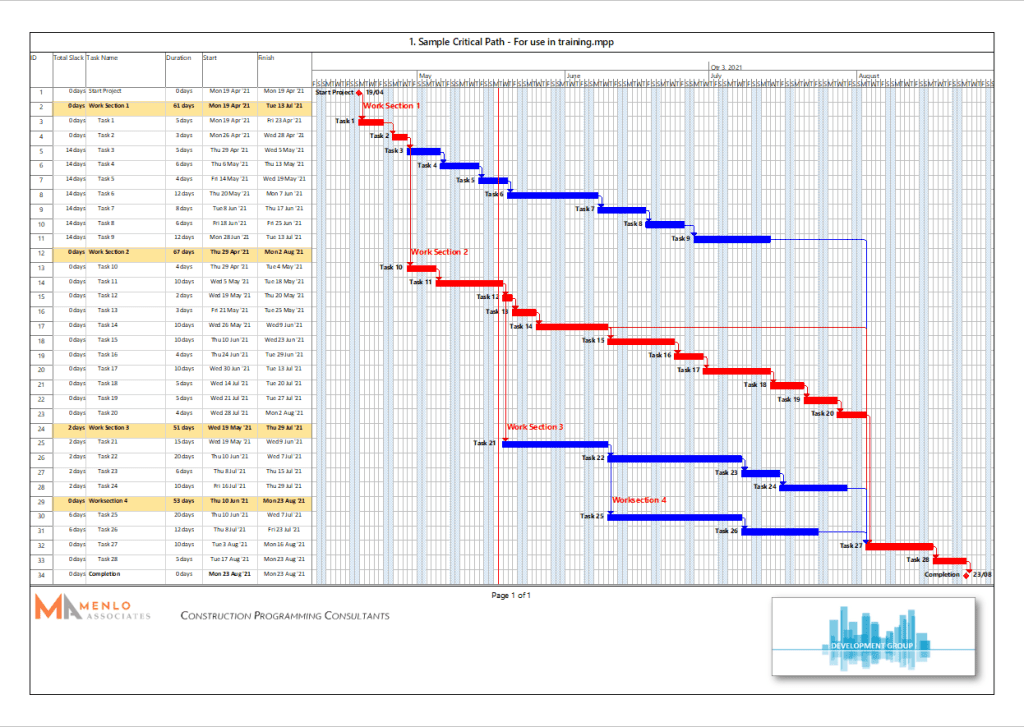
The screenshot below is showing the result of copying & pasting the graphic into place straight from the Word document above. It’s oversized but not too bad. If it’s too large, you may have to drag it smaller in Word first as that will make it much easier to handle in Project. You have to work in a very small window in the Project dialogue box.
The next thing we need to do therefore is reduce the size by dragging the image handles smaller.
To do this you will first need to save the page setting dialogue and then reopen it. This will make the handles appear when you click the image.
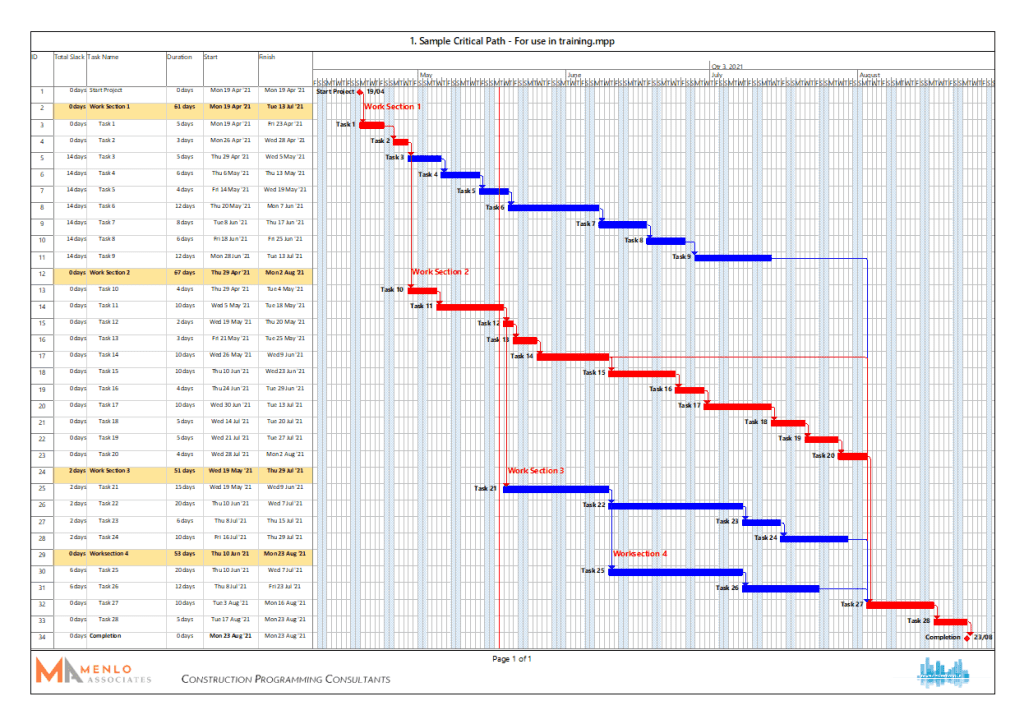
Once you have the image at a size you are happy with (use a little trial and error until the print preview looks good), then you can copy and paste the image back into Word.
You can then right click on the image and save as a picture (either png or jpg). This will now be saved as exactly the right size for your current and any future programmes.
Example:

In this case my resulting Logo is 3.84cm (1.5 inches) wide by 1.96cm (0.77 inches) tall and will stay like this…
Perfect for inserting into my next Programme.
If you have any questions regarding MS Project, or construction programming, feel free to email at JustAsk@Menlo-Academy.com.
Introduction Rule 1 - Logic The DCMA states that no more than 5% of incomplete tasks should be missing a predecessor and/or successor link. The Logic test looks at the […]
The Project Statistics button is a super quick and extremely useful “status-at-a-glance” snapshot of the programme, which gives an immediate overview of all of the key information for the project.
Many companies invest heavily in Plant & Equipment, so it naturally follows that having spent all that money, they will want to maximise the equipment’s use as efficiently as possible. Sometimes though, keeping track of everything can be a bit like herding chickens...
There are 3 pre-set Calendars available in Project which are all basic set ups which you will need to further customise to your needs and requirements.